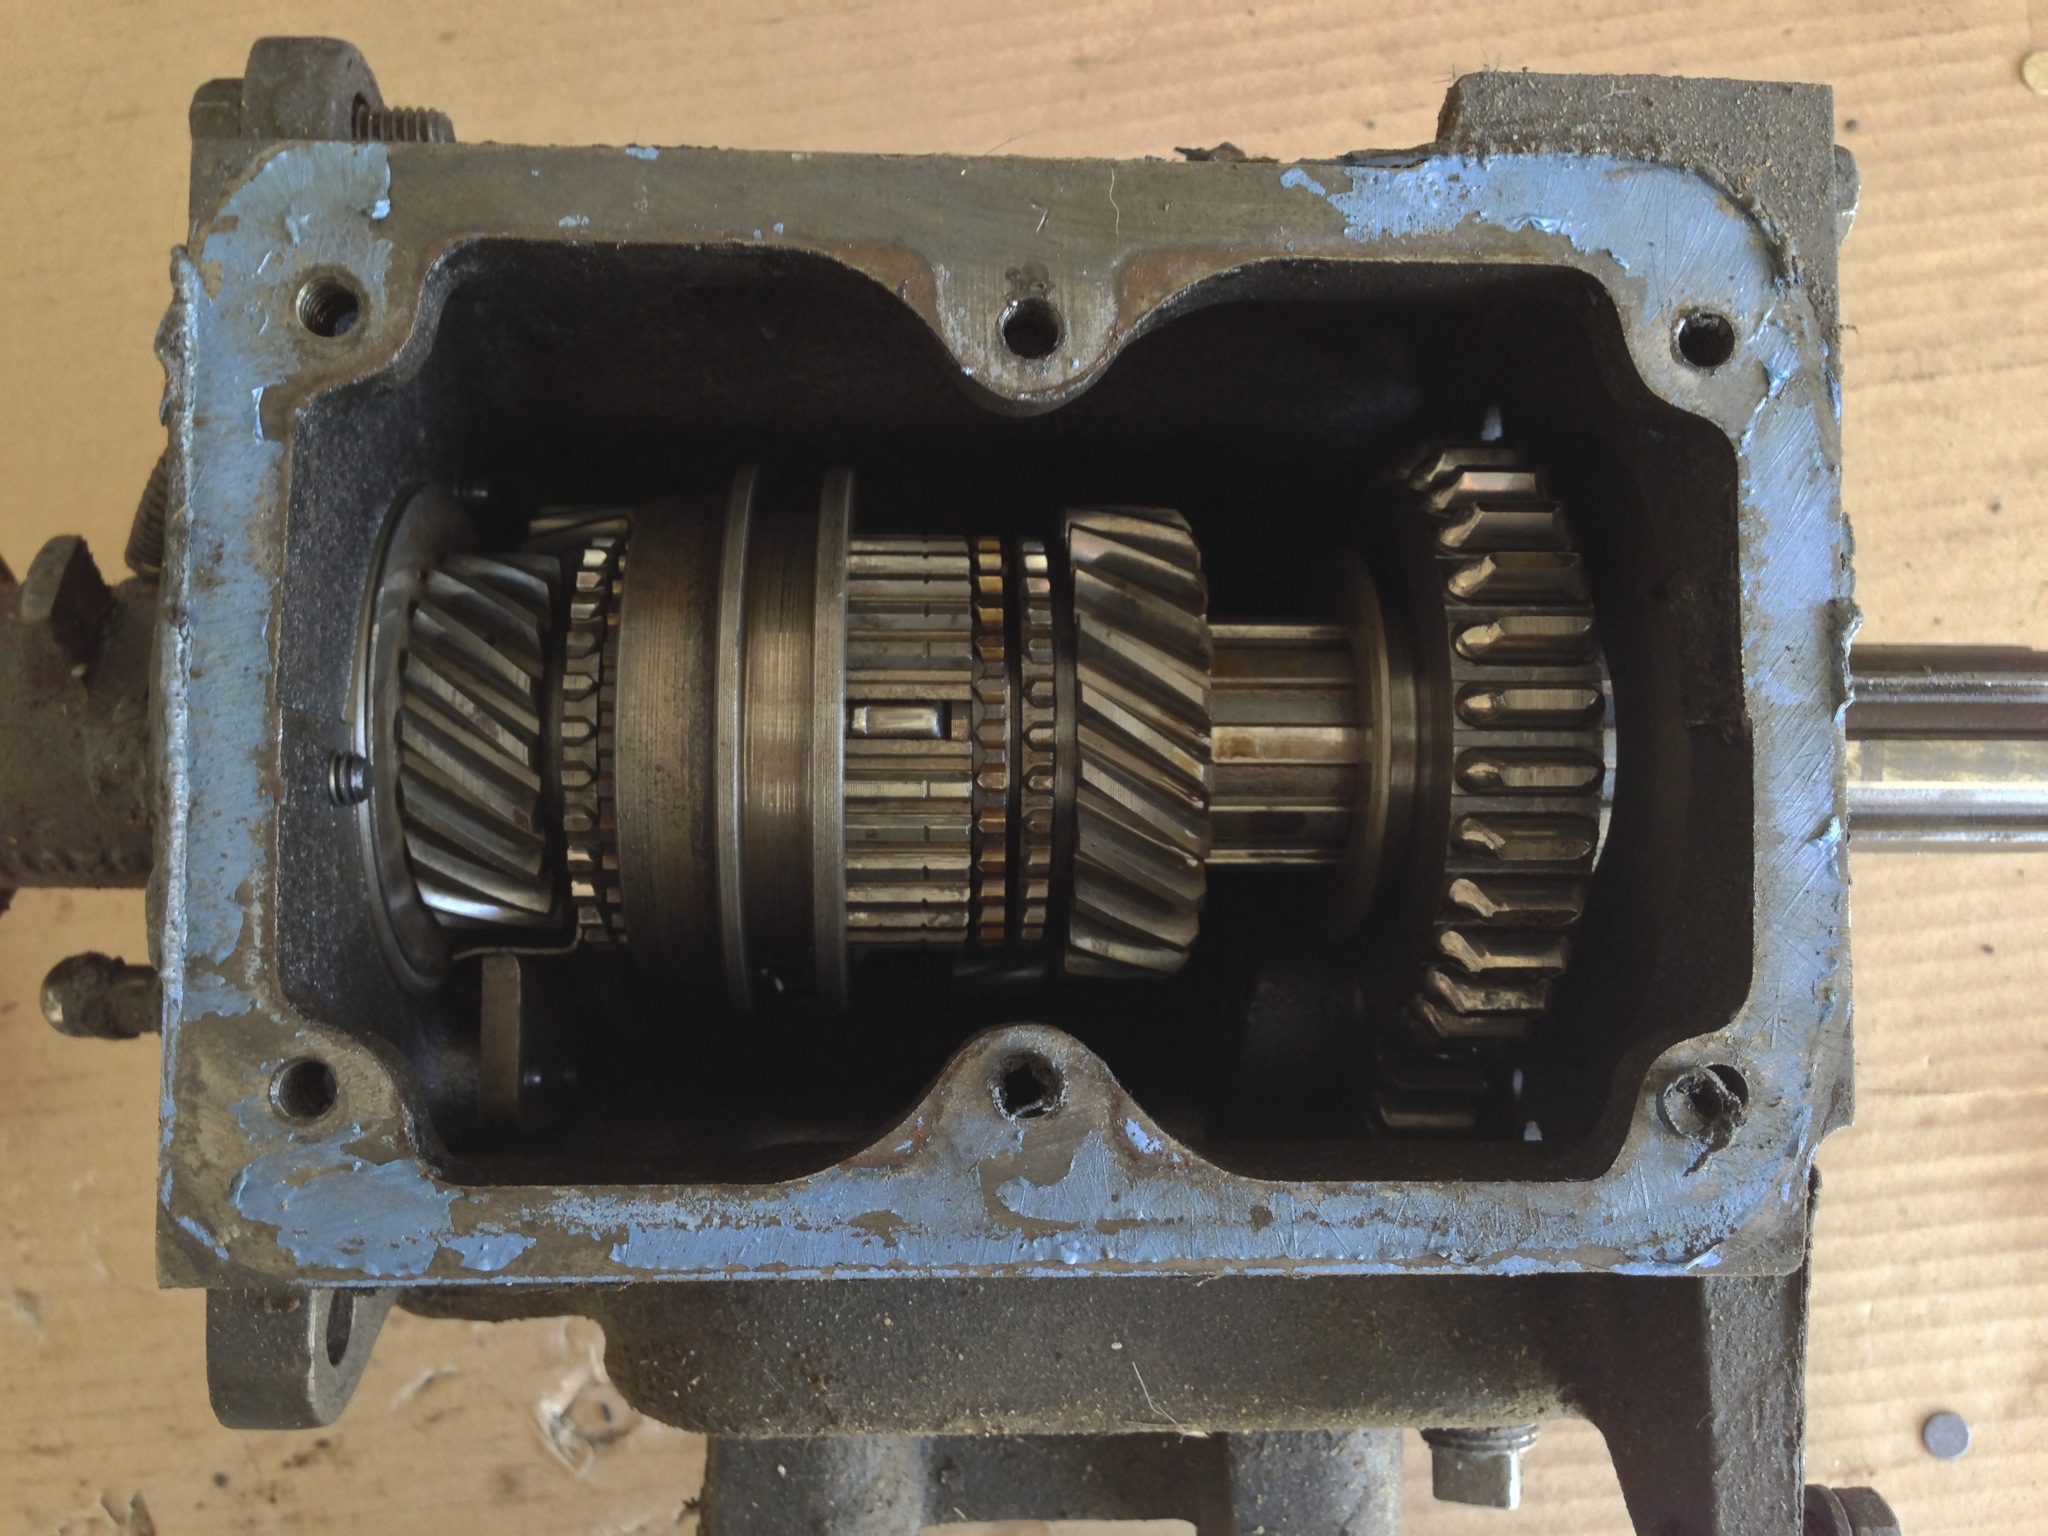
With the exception of a missed spring on the last part order (sucks that the $4 spring prevents a $300 rebuild from being completed), the final setting of the rear drum, and the front yolk, the transfer case has been completely rebuilt. The front yolk will require that I borrow the impact wrench from my dad again to get the appropriate 100-120 ft. lbs. of torque on the nut. The rear companion flange and drum will get pressed on once the spring has been replaced and the shoes adjusted. Since the output shaft of the transmission runs through the input…
2 CommentsCategory: Part Orders
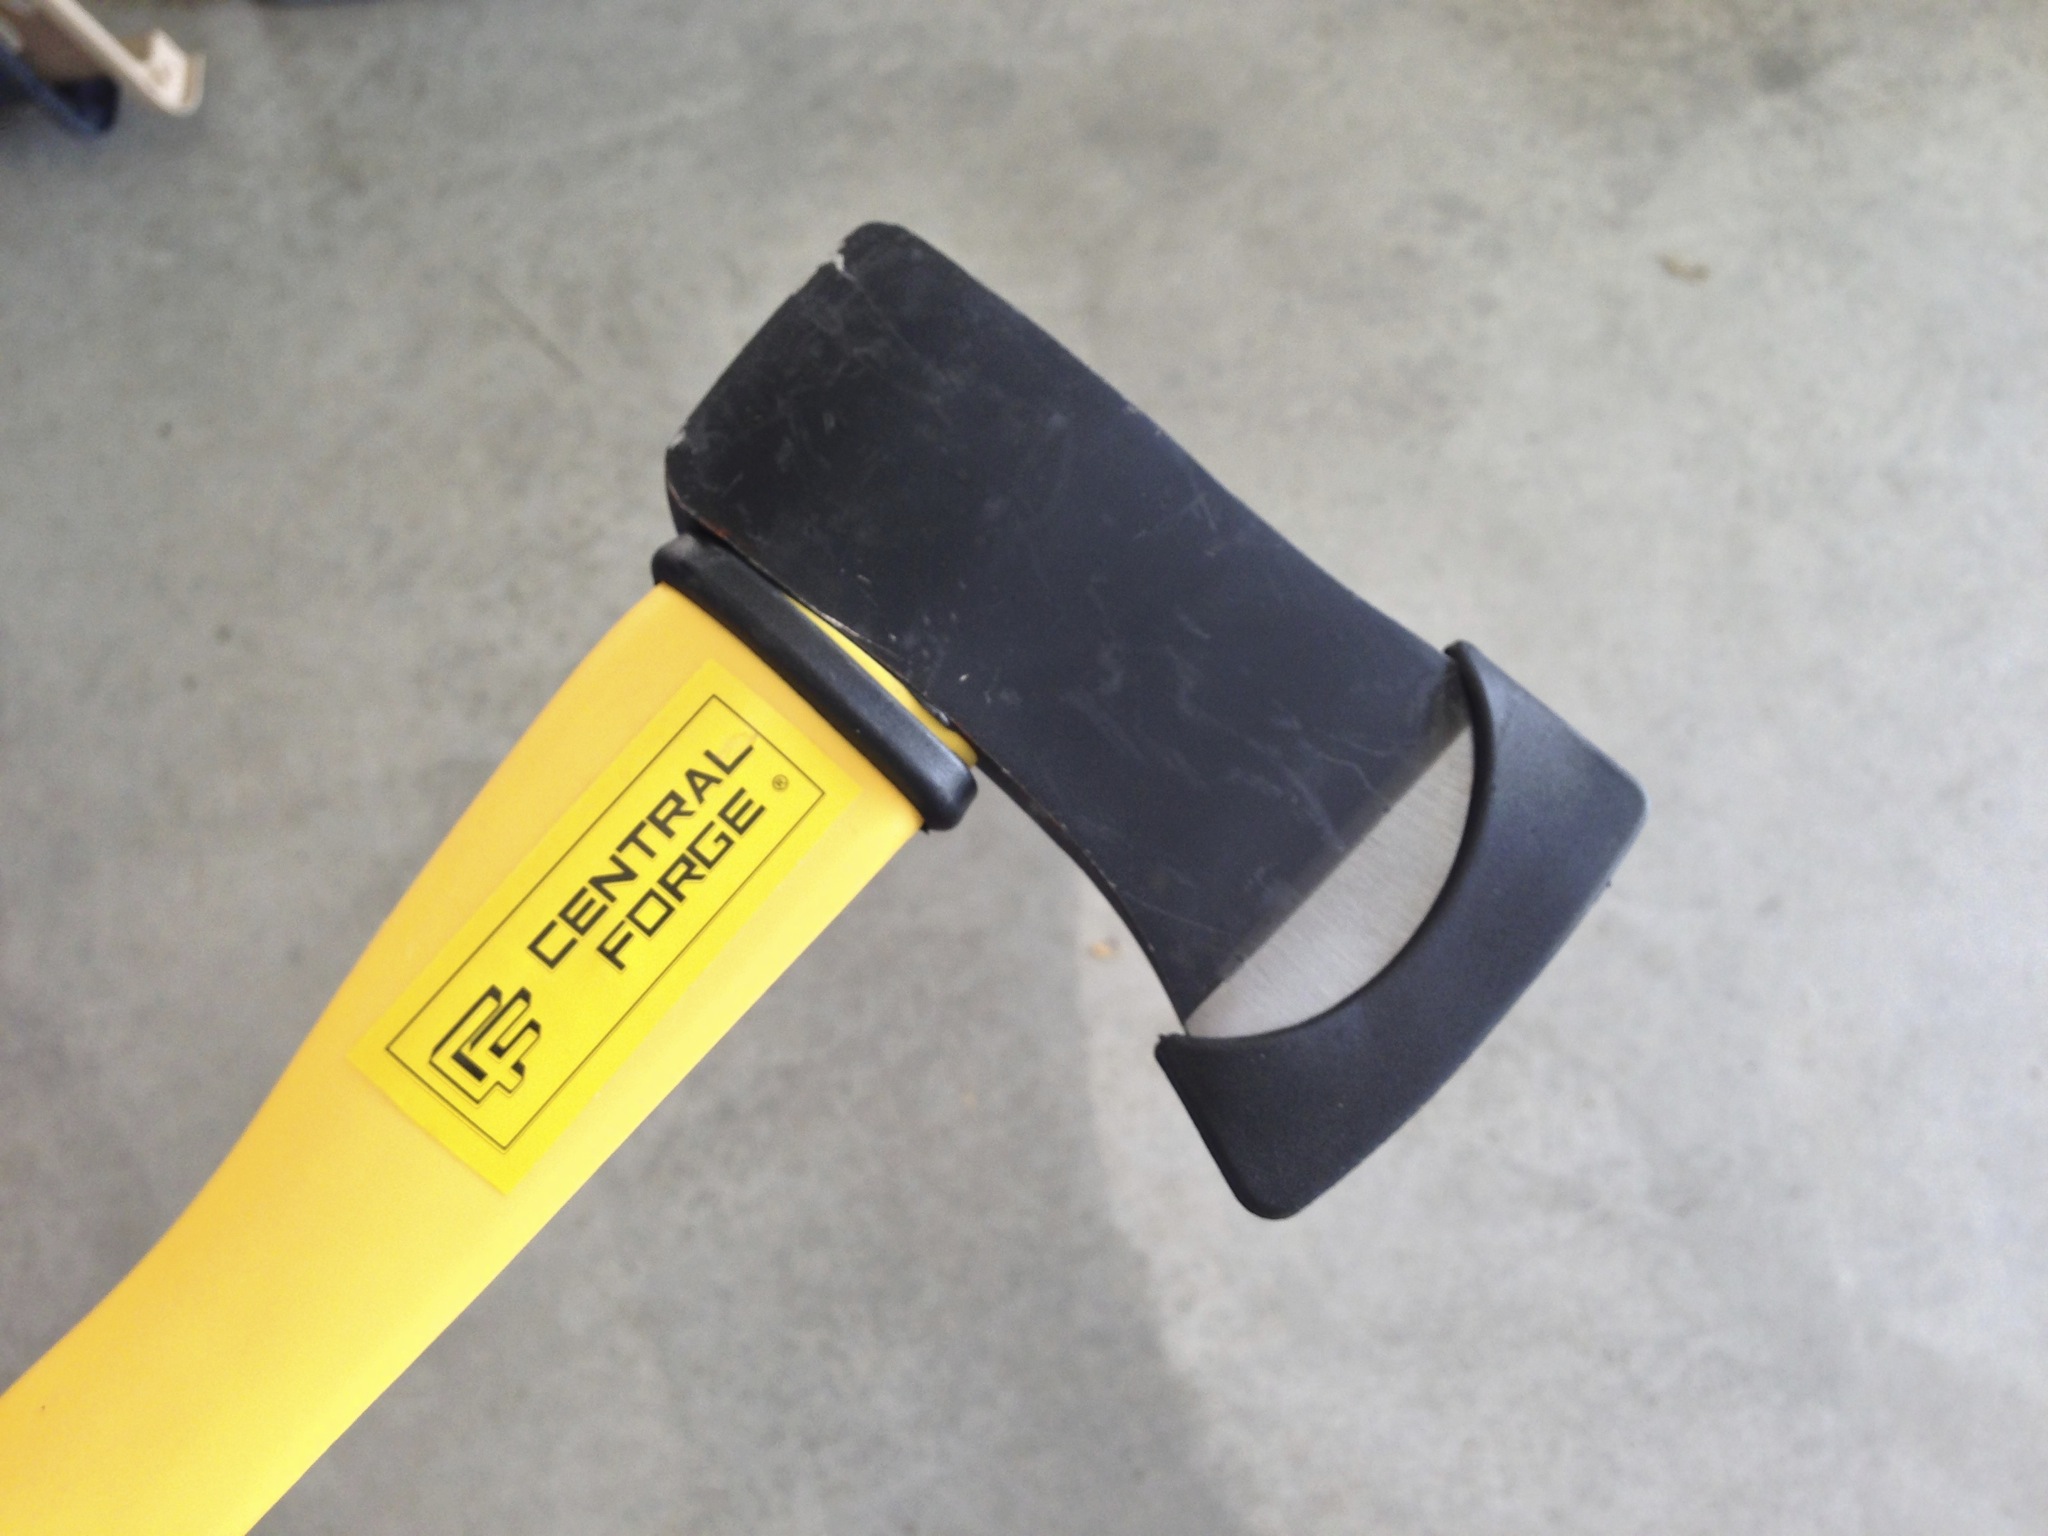
I can hardly believe that it’s been just a little over three years since I first brought Ike home from Temecula. It’s been a great three years, and now that I’m nearing 2.5 years in restoring him, my efforts are starting to actually look like something that can and will drive again. After last weeks success in getting the intermediate gear and shaft pulled from the transfer case, it was time to get that pesky output gear cluster out. As I mentioned last time, the problem with continuing the removal is that the gear cluster is held together with a…
Comments closed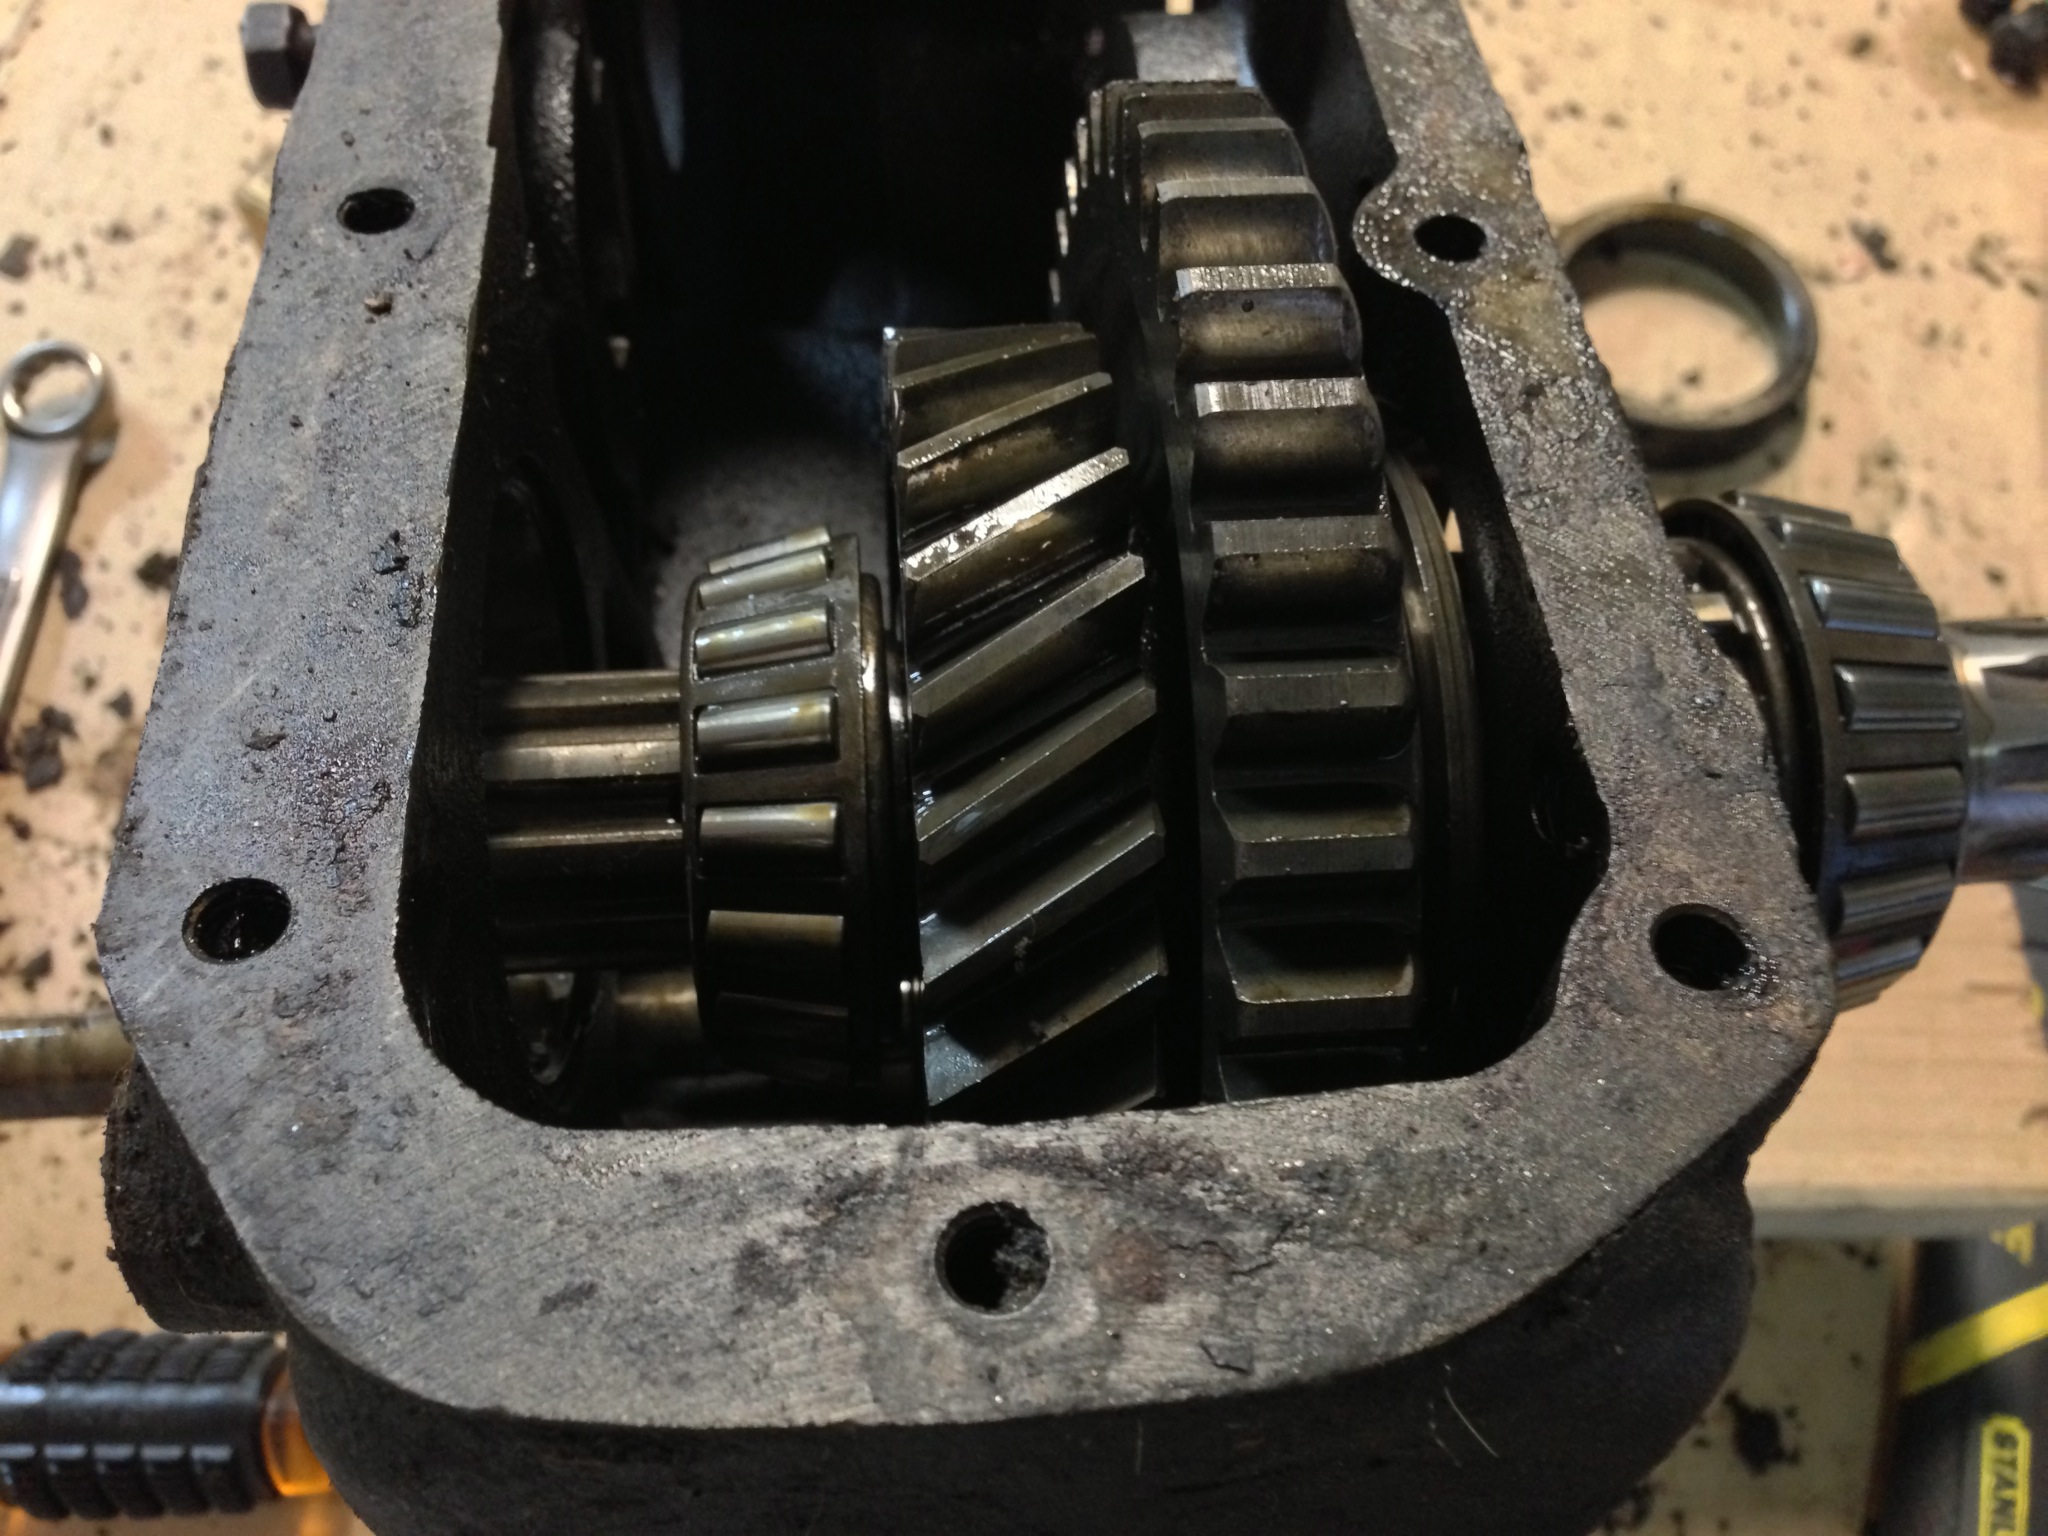
After getting much of the errata off of the transfer case nearly two weeks ago, it was time to flip the thing all over and remove the innards. Following a couple of guides online (one even based on the other with a few more pointers), I was able figure out that I needed two things – first a brass hammer with a brass drift, and second a MUCH better impact wrench. This last weekend I had my dad come by with an electric impact wrench with far more torque then my cheapy Chinese-made weekend special. With the more torquey wrench,…
1 CommentAfter another weekend of work, I’m getting fairly close to having a rolling chassis in my garage. This weekend was all about getting the pieces for my front axle prepped for paint and final assembly. This meant sandblasting, sandblasting, and more sandblasting. I got the rest of the brake parts blasted and ready (both backing plates, drums, and lower connecting plate), the hubs completed, and the differential cover blasted and cleaned. I’ll have to go back and get the spindles that I swapped out when I did the axle shaft removal from the parts Jeep though, since the correct bushing…
Comments closedIn what will surely be only the first major component that needs to be farmed out for work, I finally got the frame sandblasted. Performance Powder Coating in Apple Valley did a fantastic job, especially considering how long it would have taken me to do the same work. With the help of my buddy Joe, I got it picked up and we took it over to his dad’s place. After what seemed like just a short time, the old spring pivot joint was gone, and a new piece of metal was welded in. Above you can see the before with the…
Comments closedSince I don’t have all my parts yet (should be here tomorrow), I had to just do some last minute prep work to get ready to finish the rear axle. After talking with a few people online, I decided to just use some spray on engine enamel for the backing plates. Cheaper (since I already have the paint) than powder coating, and I don’t have to take it somewhere and wait for it to get completed. To get the backing plates, and the grease retainer, ready for paint I had to fire up the sandblaster. I was hoping that there…
1 CommentWith the rear axle differential finally buttoned up, it’s time to turn my attention to getting it completed. I’ve decided to keep my 9″ brakes rather than upgrading to 11″ drums. While the white parts Jeep already has the 11’s on there, it looks to require a bit more re-engineering than what I’d like to go through at this point. I can always go back later and do a swap if it hits me as something I want to do. With how infrequently this vehicle will be driven, and at the speeds it is capable of, I don’t think upgrading…
2 CommentsI know I said that the front axle was done with paint, but I decided to give it a shot of semi gloss and now it looks much better. I also removed the zerks for the axle bearings and found that they are mostly clean. I’ll have to push some grease through them to make sure no paint got in there. Looks like my putting the nails into the holes to keep paint out worked well. While I was waiting for the paint to dry I decided to roll out the front axle and start cleaning. After scraping off about…
2 CommentsThe rear axle is all but finished as far as painting goes. After putting the second coat on the differential cover, it’s just about time to button it all up. I’ll be putting in an order for a differential cover gasket, I’ve already purchased new fastening hardware, and the only thing I’ll need after that is some differential oil. While I’m happy to be nearing completion on the finishing of the axle, I’m slightly less happy with the way the semi-gloss POR15 dried. When I chose to purchase the semi-gloss over the gloss, I was hoping for a finish similar…
Comments closedIt took two days due to the incredible heat and humidity limiting how much time I felt like spending outside, but I did get the brakes completely removed and the first coat of POR15 on a majority of the axle. I received my puller early last week, and it sure make a huge difference having an appropriately sized tool. The two that I had borrowed from my father-in-law were far too small to fit around my studs. After lubing the center screw, mounting pulling arms and center body, and getting the anvil wrench on, I went to town pounding. It only…
Comments closed